Some Particulars on the Wine Bottle Ollas

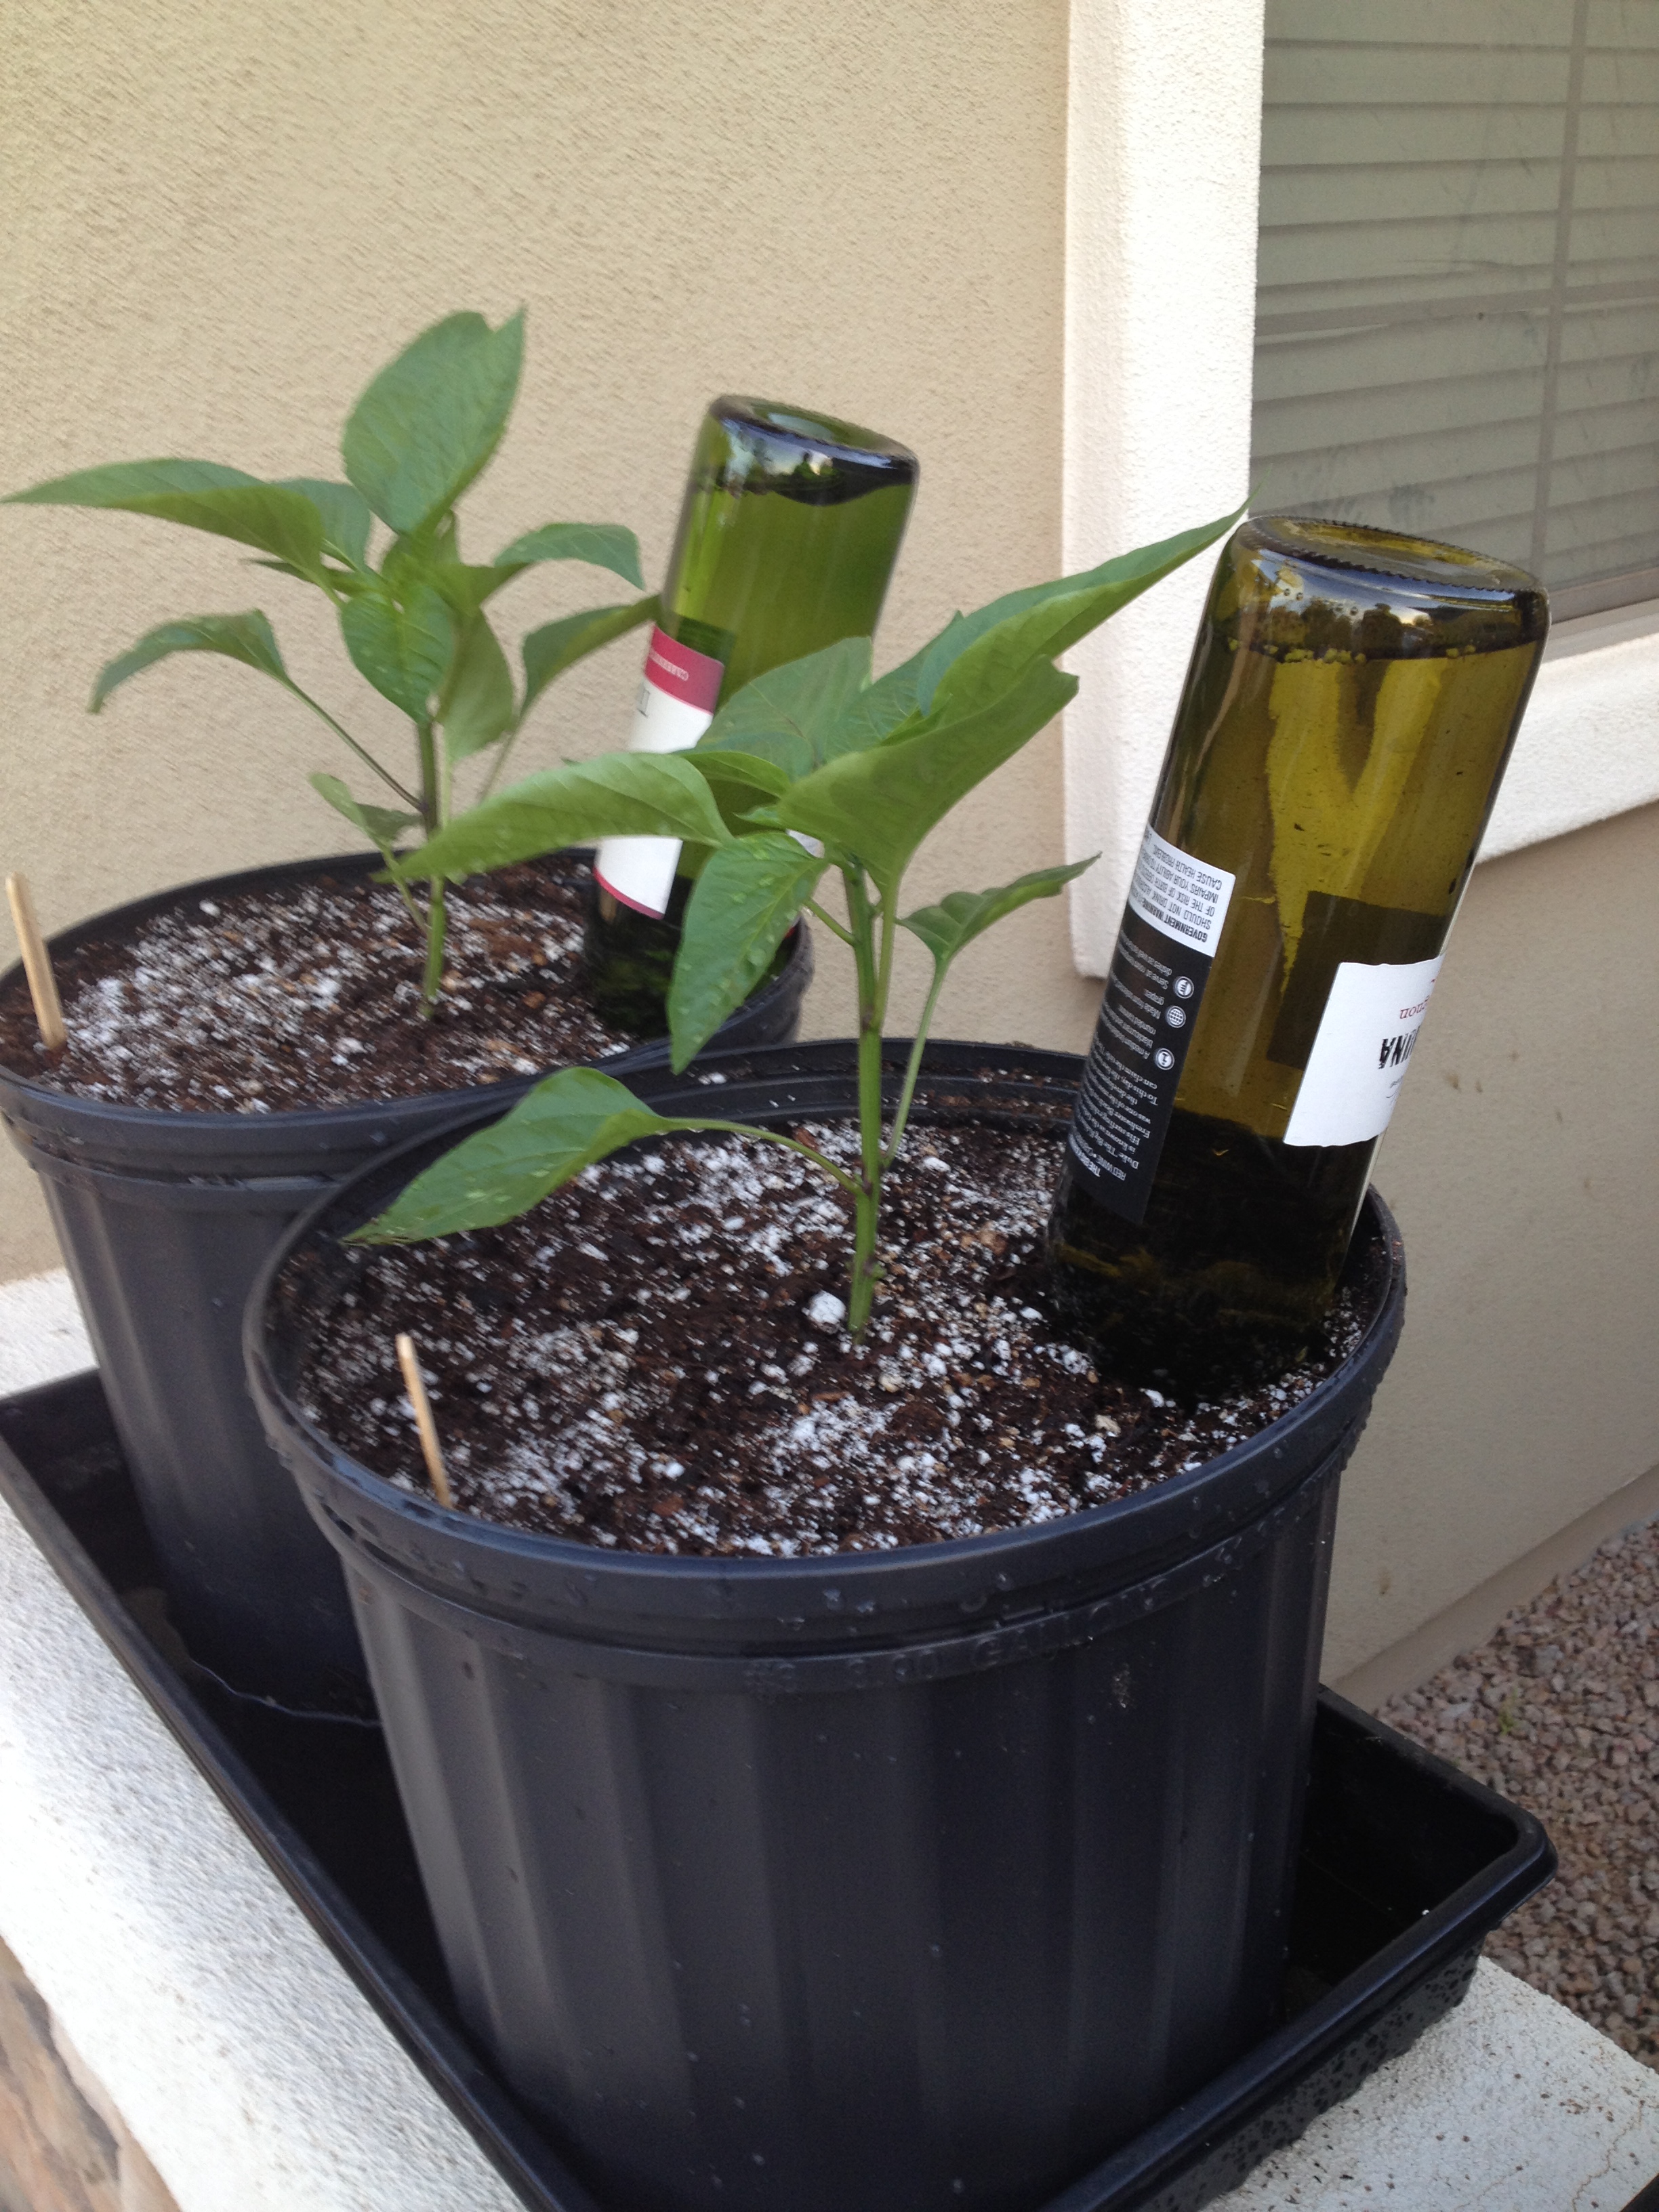
I’m not sure if I made up that name or not, wine bottle olla, or if it’s even a real “thing”… it’s just what I call them.  I’ve been collecting and using them now for a couple of years.  It’s a really simple concept, you take an empty wine bottle, fill it up and jam it in the ground, but there are some things that I’ve found that make the whole thing work better.

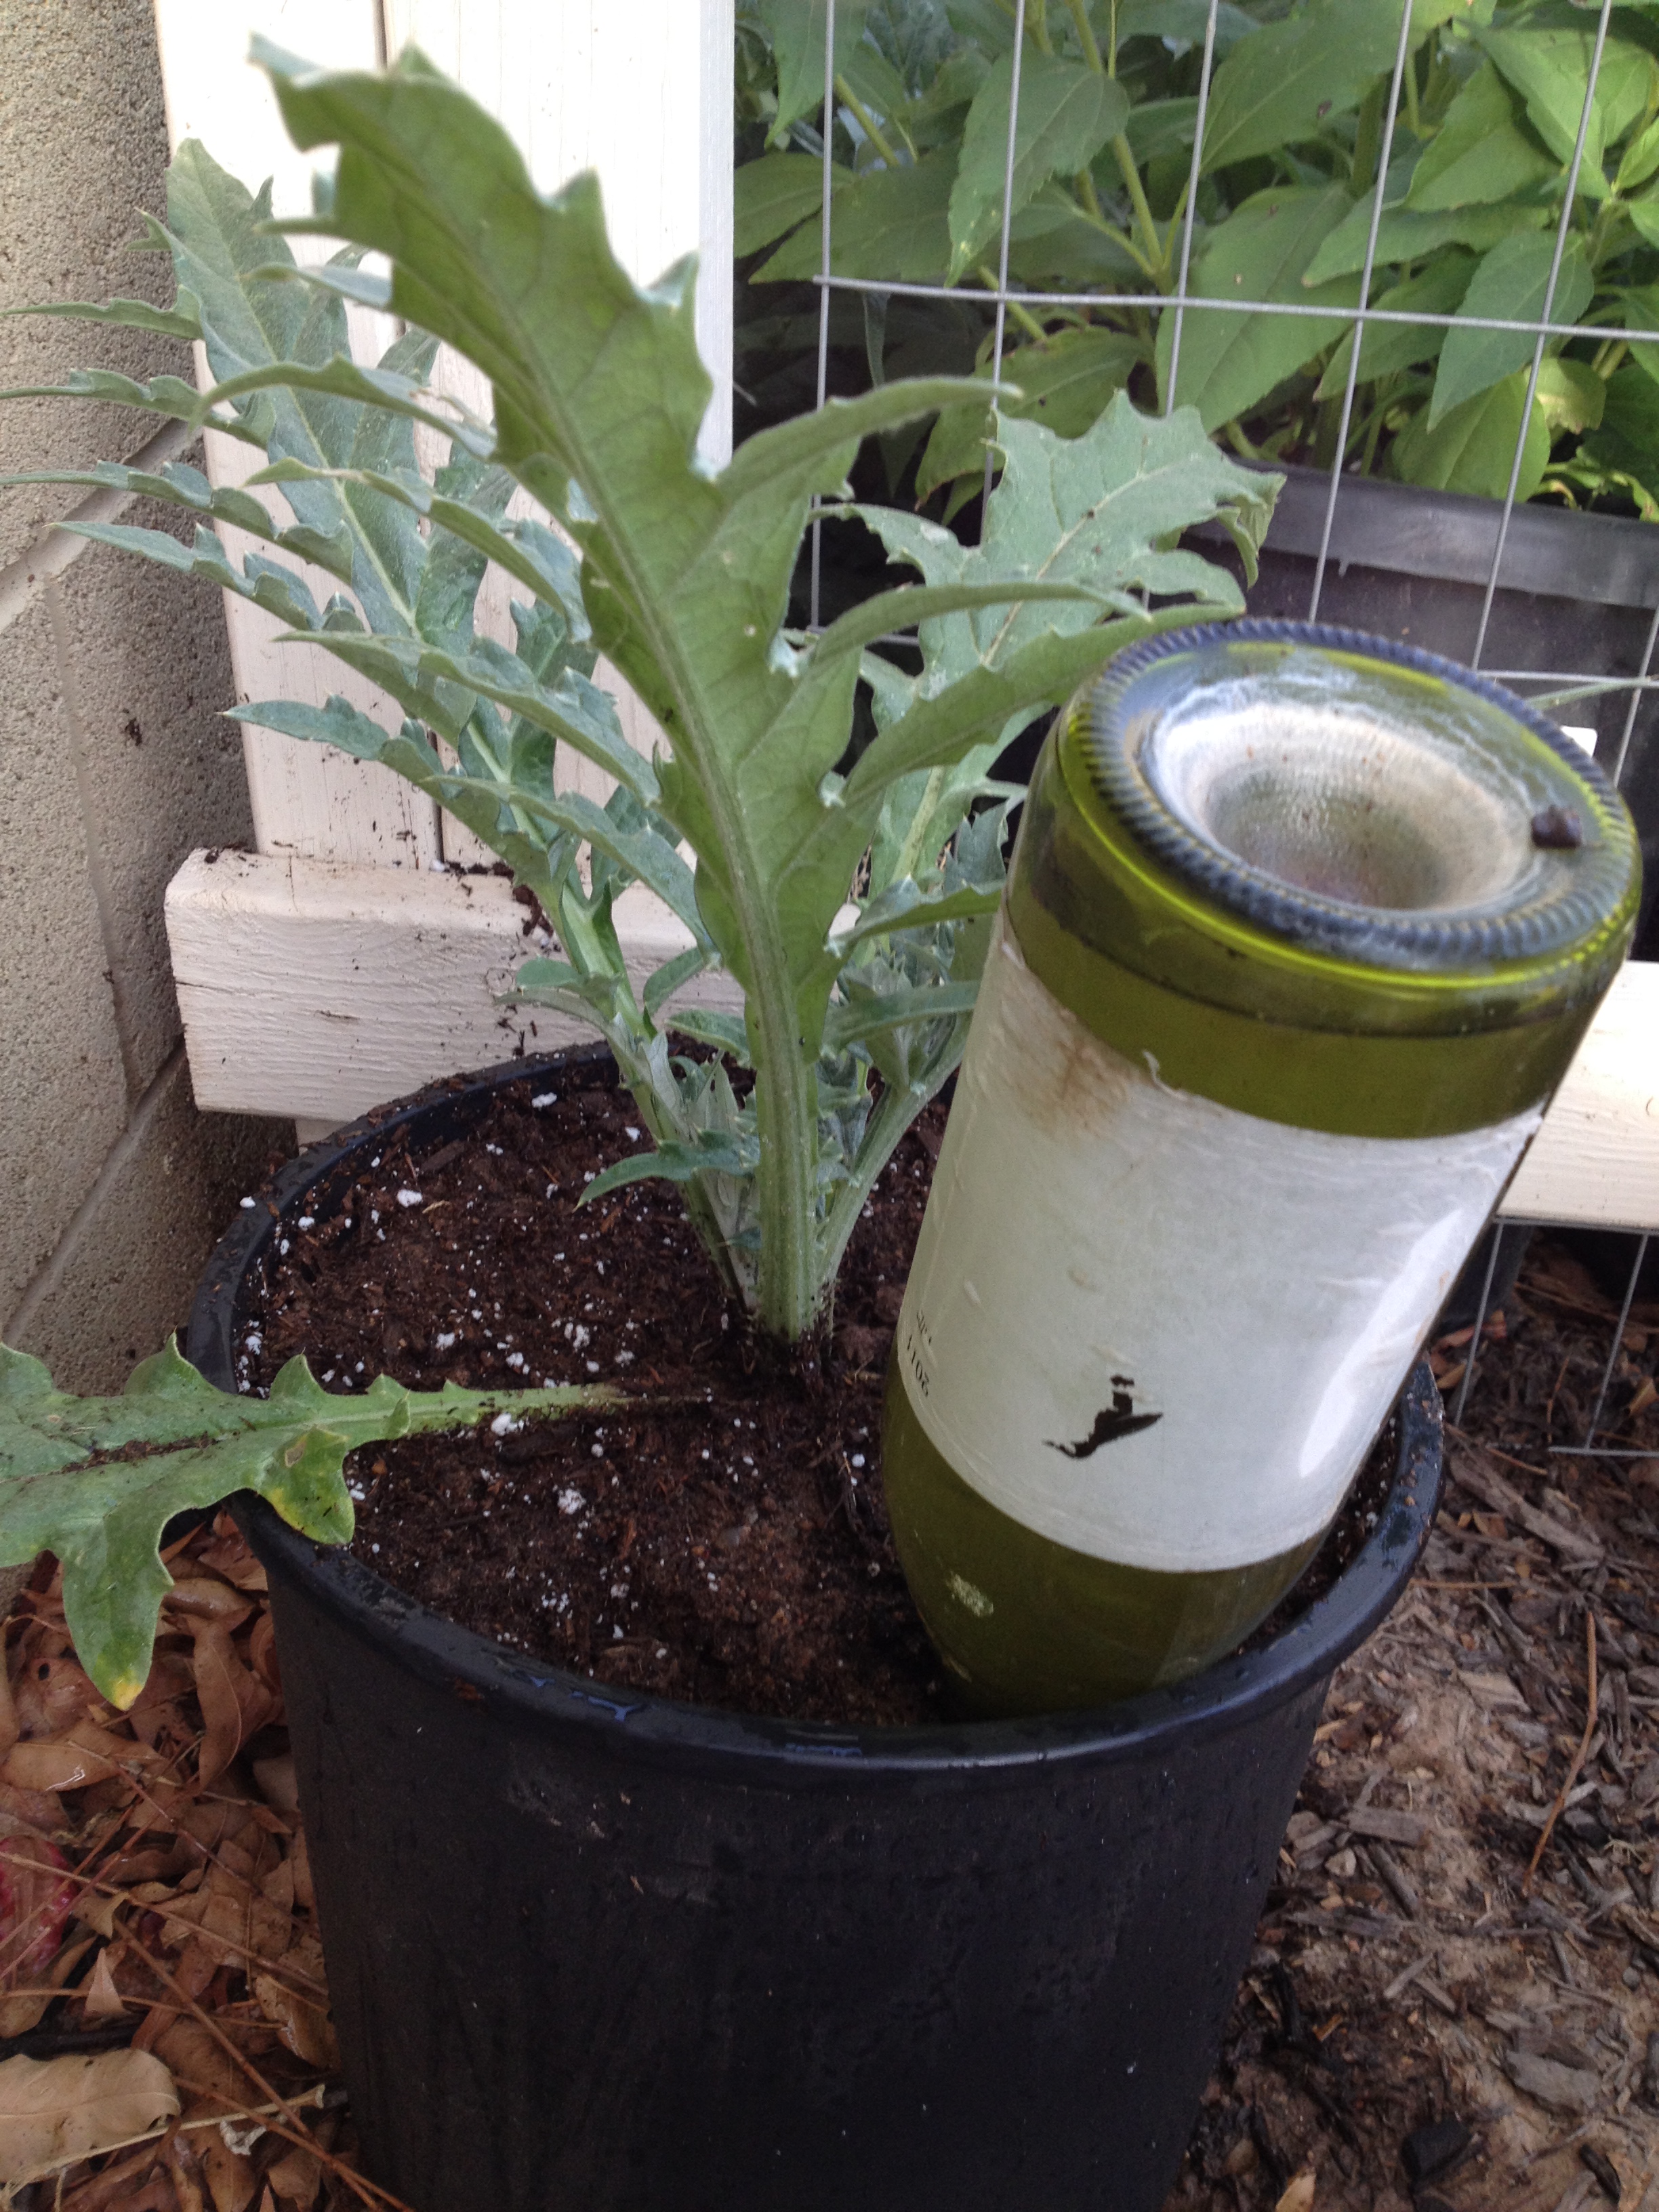
First, the color.  Fortunately we drink more red wine around here, which comes in the darker colored bottles.  The darker color cuts the amount of sunlight that hits the water and so you don’t get algae in the bottle.  I have not had an issue with algae in any of my darker bottles.  Clear bottles or even lighter colored bottles on the other hand, tend to get algae in them pretty quickly.

Avoid clear, go for dark.  Brown or green is fine.

short and fat is better

The second one has to do more with a preference due to my method for filling the bottles.  I’ll gather four bottles at a time, take them over to a 5 gallon bucket that is full and constantly being filled (slowly) by the hose.  I’ll force all four bottle down at once into the bucket.  This seems to be the fastest way to fill the bottles and so the quickest way to complete my morning chores and get to work.  I’ve found that the taller wine bottles make this tough.  Shorter, fatter, wine bottles make this much easier.  I’ve also found that the shorter, fatter, bottles are more stable and less likely to tip over and push up the dirt around your plants.

Favor short over tall.

bucket filling

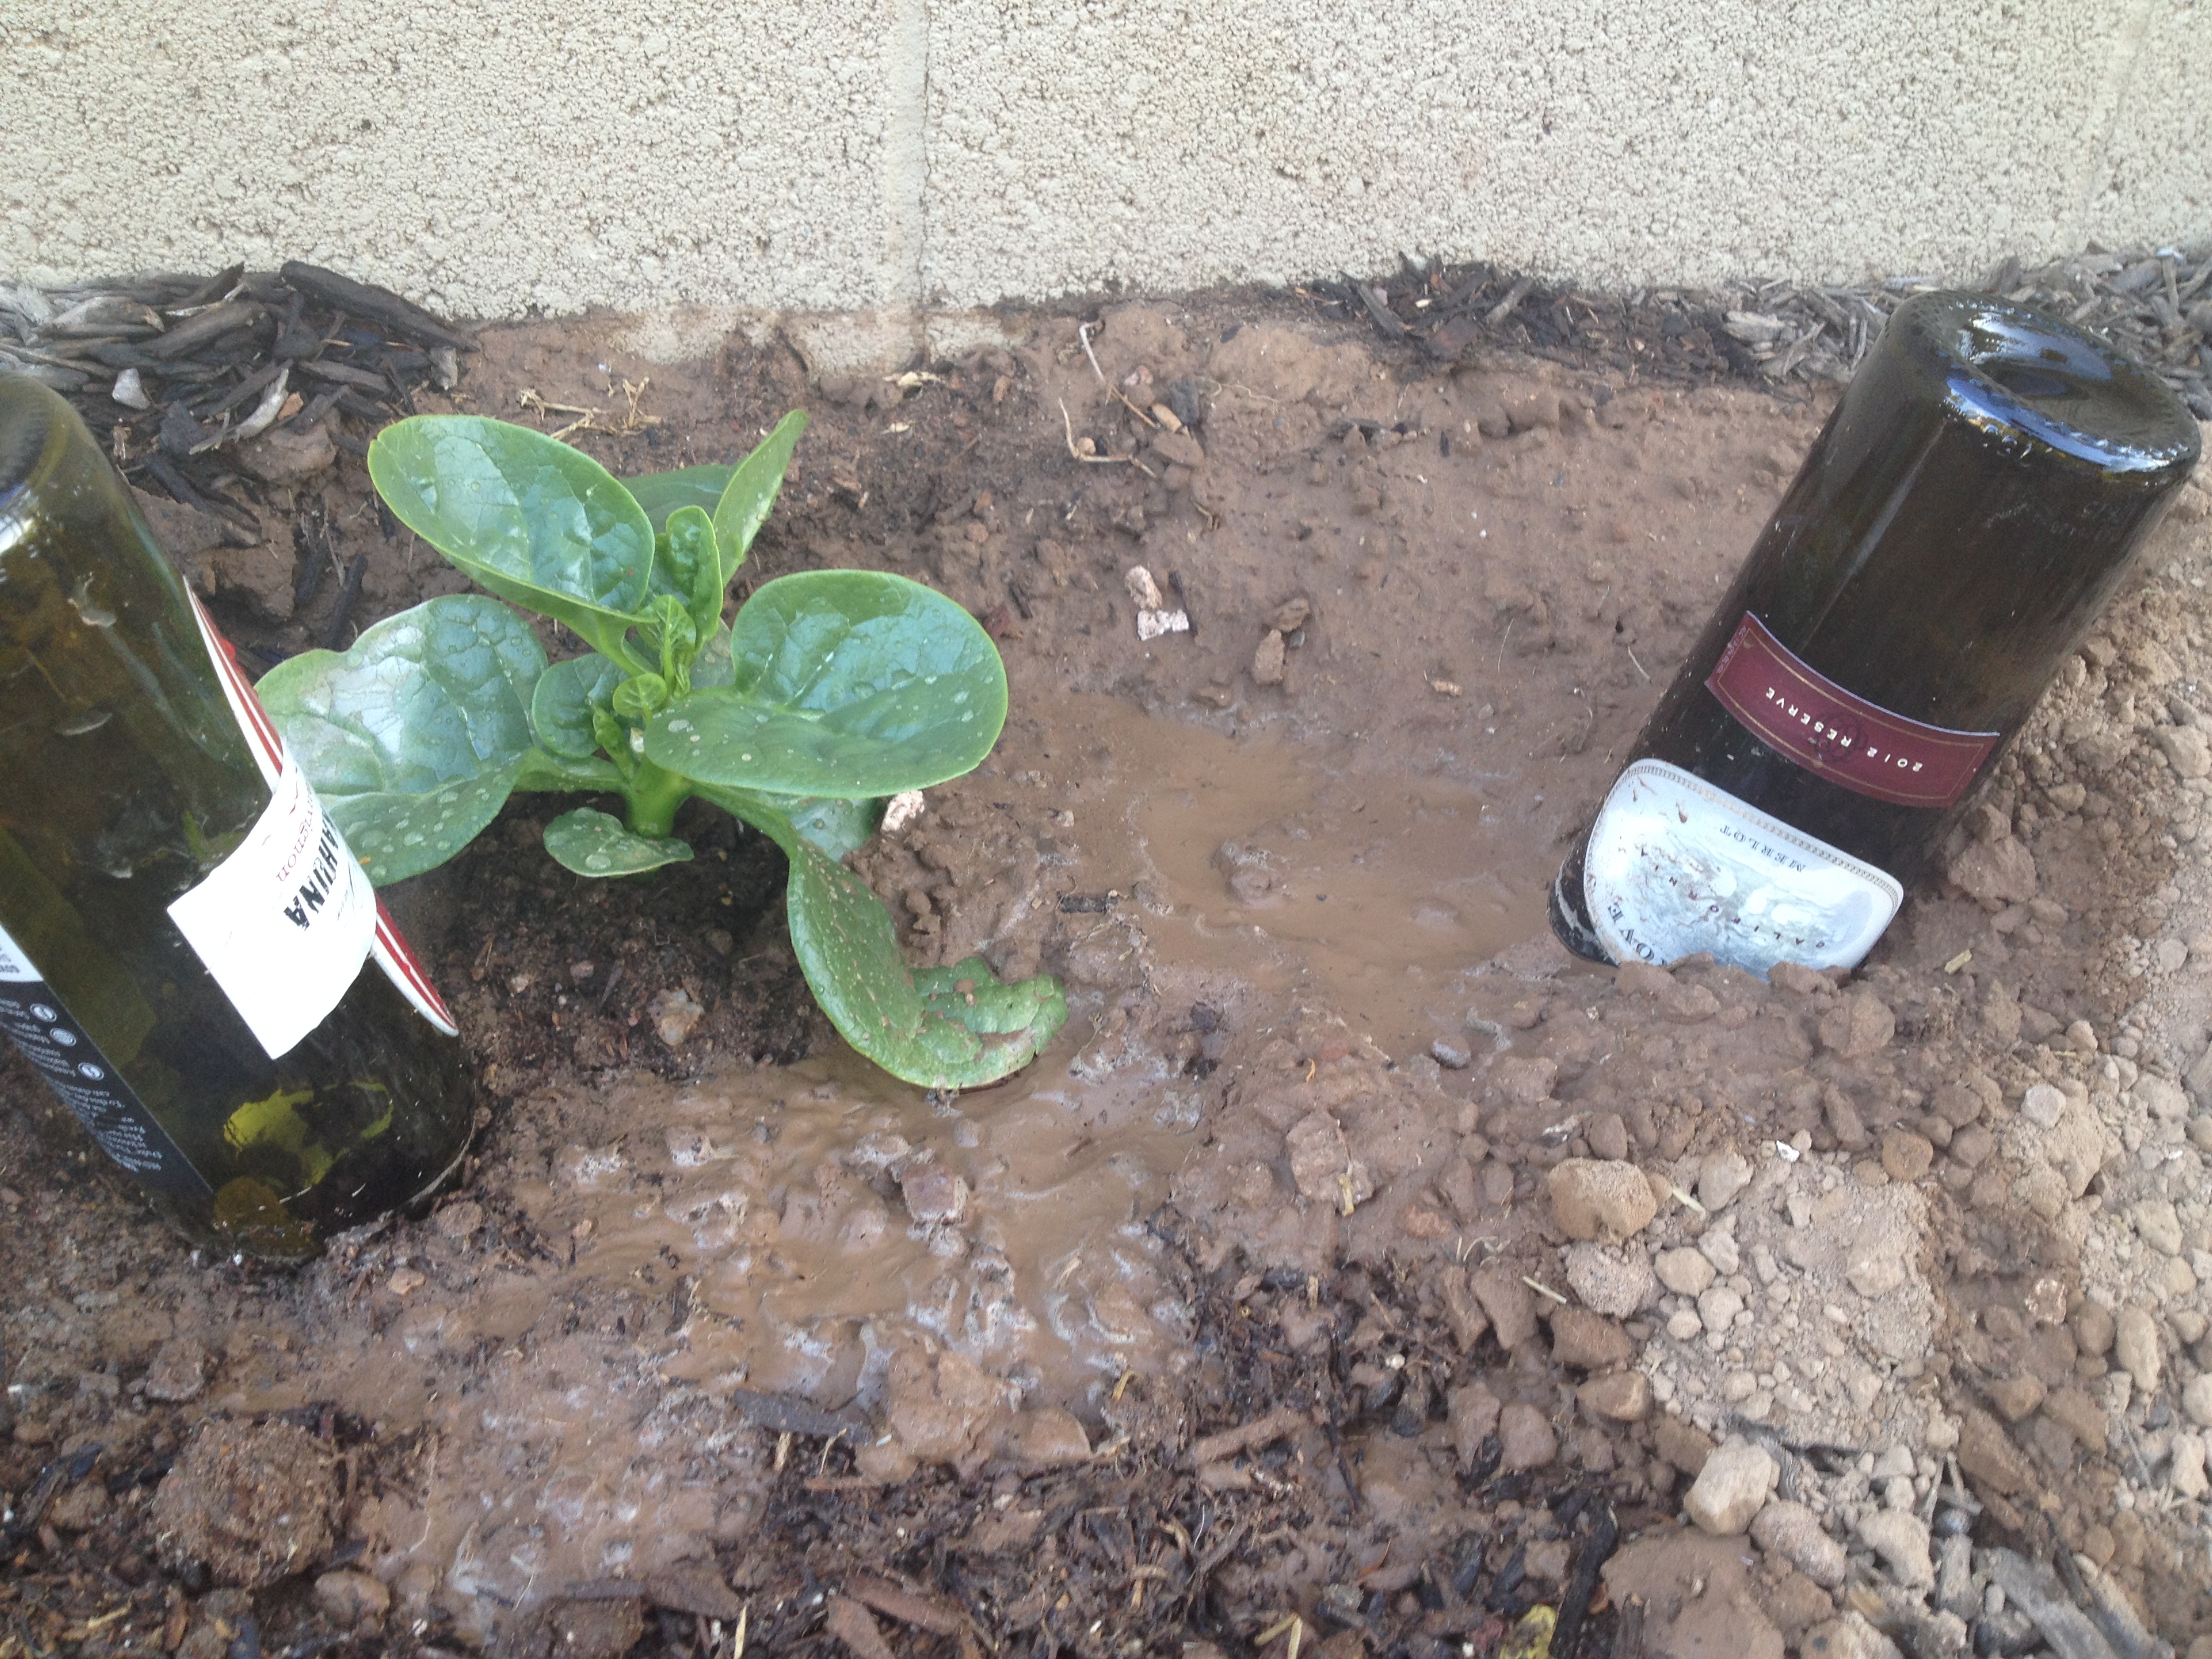
To start the whole process I water everything.  This moistens the soil which means the water won’t be running out of your bottles as soon as you turn them over.  The whole idea is that the bottles will help maintain moist soil.  This also helps if the bottles have any kind of lip to them.  The lip has more of a chance of grabbing the soil if the soil is dry and making a mess of the hole.  After the ground is wet, I simply pull the empties out, fill them, then put them back into the same holes.  I’m not really concerned if the same bottle goes into the same spot every time, unless it’s some odd shaped/sized bottle to begin with, but I use the same hole and don’t create new ones.

wine bottle hole

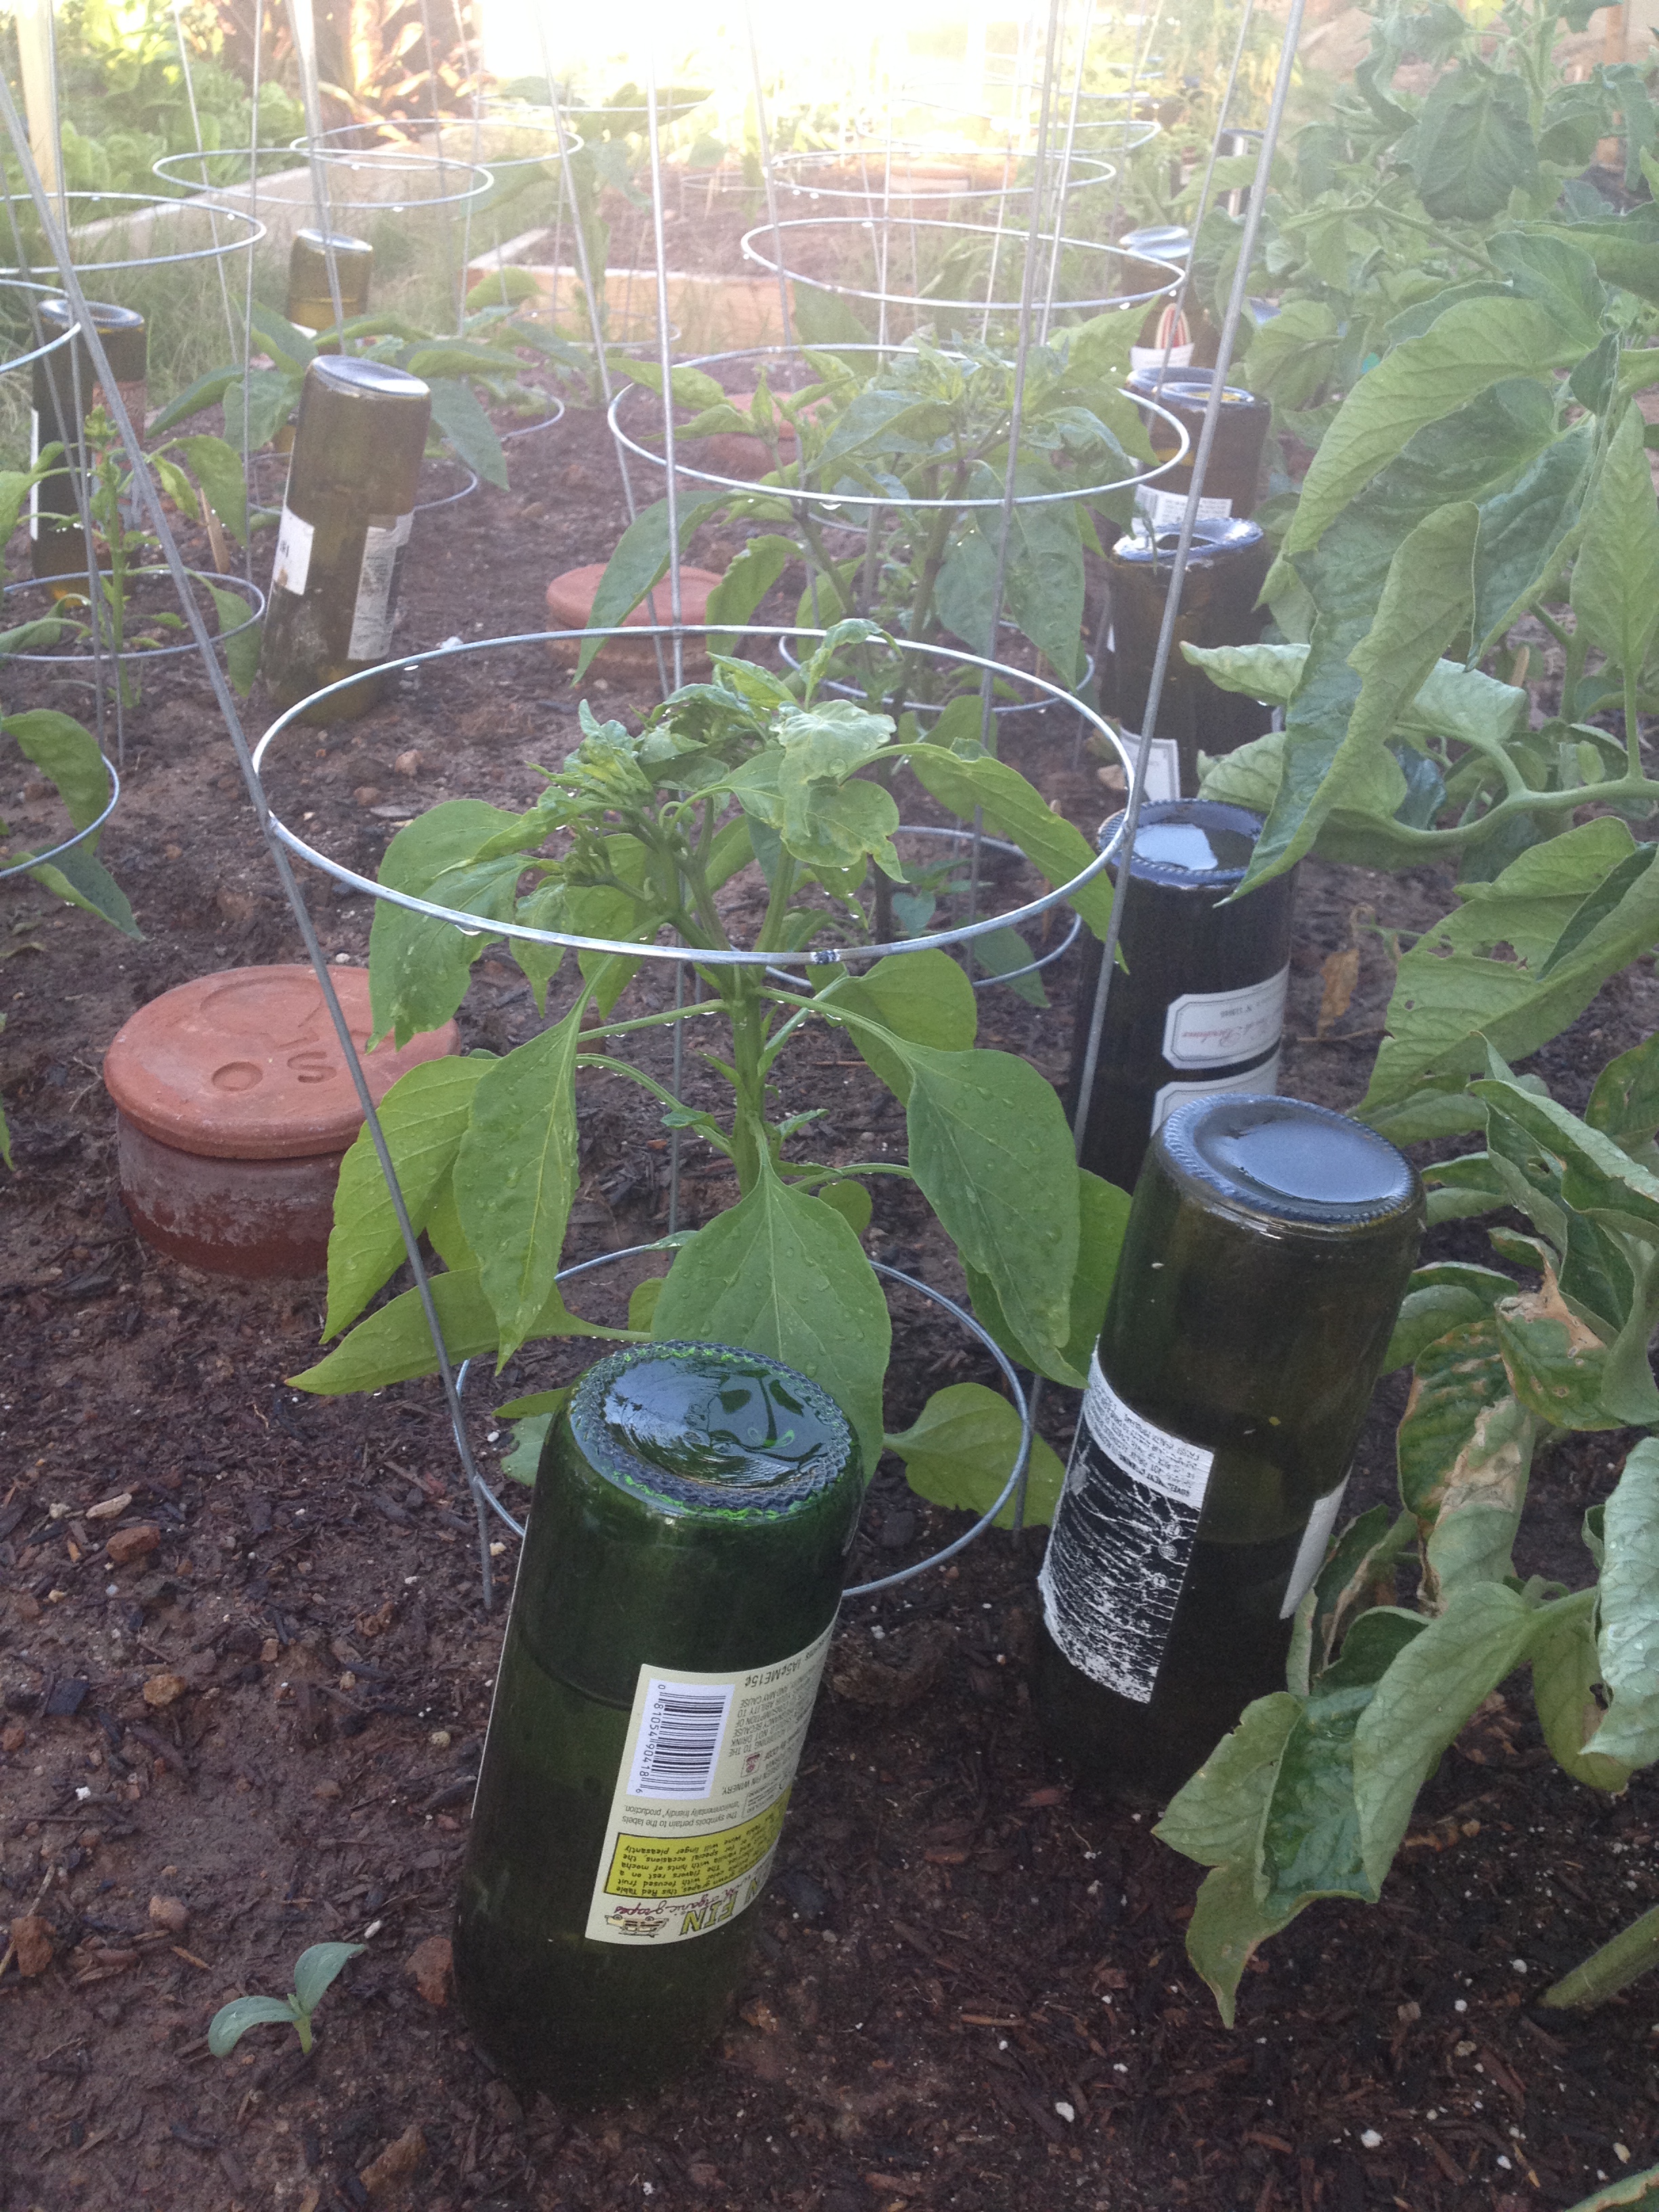
If I’m putting a bottle in for the first time I space the bottle away from the plant a reasonable distance.  The smaller the plant the closer I put the bottle, mainly because the roots of the plant will be closer and so you have less chance of damaging the roots.  If you jam a bottle into the ground close to a large plant you have more chance of damaging roots.  Damaged roots are bad, let’s not go there, buddy.

I place the bottle at a slight angle, so that the opening of the bottle is pointed at the roots of the plant.  Too much angle and the ground may not hold the bottle up.  Too vertical and for whatever reason the water may just end up staying in the bottle.  You get a slight better flow if you angle the bottle.

Good bottle angle and distance

When you first put the bottle in you should see a couple of bubbles.  If you have nothing else to do then you can sit there and watch the bottle for a few minutes and you’ll notice the occasional bubble.  Bubbles (air) come in, water goes out.

That’s about it!  Now if you live in a place where you get… rain, this is probably a slight waste of time.  🙂  But if you live somewhere like AZ where you get less than 10 inches of rain a year and the humidity level can drop into the single digits,  it just might come in handy.

Posted in the Homestead Barn Hop.

Posted in Arizona Garden, wine bottle ollas | 13 Comments

A Question About the Purple and Green Beauties

The garden is still in transition.

The cilantro has bolted and made some very nice little flowers.

Image

The tomatoes of all variety are growing… and are very hard to focus on with a phone.

ImageImageImage

But I have a question for you and it revolves around this guy right here.

Image

Actually, it revolves around all of his little siblings that are growing on my big beautiful artichoke plant.  I understand that each main stalk will produce a large bud and some smaller buds.  My question is, do you normally trim off the smaller buds to try and increase the size of the larger ones?  I have a ton forming right now, but they are getting smaller, and smaller, and…

I don’t mind a smaller artichoke, but it seems counter productive to be eating chokes the size of rose buds.

Any advice would be greatly appreciated.

Posted in artichoke, cilantro, tomatoes | 14 Comments

Getting the Gopher! … and a garden update

Pests are a problem in any garden and I recently returned from vacation to find that a nemesis had returned and had taken out at least one plant.  Grrr!  I work so hard to grow my plants and keep them alive, I take it kind of personal when some little unwelcome rodent helps himself.

So I’ve looked into poison, but it was a little risky for the dogs and kids.

I’ve looked into gas, but it was too ineffective from stuff I read and people I talked to.

There are all kinds of home remedies out there too.  I decided to go with something more conventional and tested.

A Victor gopher trap.  You can find them at Depot or Lowe’s and they aren’t too expensive and you can actually reuse them (but I don’t).

This video does a good job of explaining how to set the trap.  No bait needed.  If you have a super fresh tunnel exit, simply dig it back a little to where the tunnel is a little thicker.  Then pull extra dirt out of the tunnel to make the tunnel as wide as possible.  Tie a string to the trigger of your trap (The big square thing that comes up to hold down the tines.  It has a hole in it for string).  Set the trap and insert it into the hole as far in as you can.  Put the barb end in first so that the trigger is closer to the exit.  The gopher will walk right between the barbs to push dirt out over the trigger and WHAMO!  He’s caught (not to mention critically injured, if not dead).

Once the trap is in the hole, tie the string to a stake in the ground.  This keeps the gopher from pulling the trap back into the tunnel once he’s caught.  It also gives you something to pull on to get the gopher out.  When it’s set, leave it alone.  You can look into the hole and see if the trap is sprung but don’t disturb the trap.  I set mine in the afternoon and checked it in the morning.  The trigger may still look like it is UP, but if you see dirt all around the trigger then chances are it’s been sprung.  This works because gophers don’t like to have openings into their tunnels and will try to fill the exit back up.

This lady has a little older model, with a chain instead of a string.  Same idea.  Personally, I don’t pull the gopher out and play with it like this lady does, but… hey, I’m just weird like that.  They do have some nasty teeth and claws.  Personally I just chucked the whole thing, trap and all.  Also my gopher was still alive when I pulled it out.  So… I happen to have my shovel handy… now, let me just say that there is something very satisfying about finishing off one of these little boogers.  Hehehe… anyway, the dirt covers most of the carnage, but here it is.

Image


Ah!  The garden is safe once again!  Unless they just had babies there is only one gopher per tunnel system from what I understand.

I did manage to get some other things done around the garden this weekend.  I cleaned out and weeded bed 1.  Man, those Red Russian Kale can have some serious roots!

Image

i also harvested the next batch of artichokes.  The next round forming right now has even more than this batch.  I’m seeing EIGHT buds.  Wahoo!  I also moved the sunchokes to a different location to give this guy his space.  I know I take a lot of pictures of it, but I’m just continually impressed with the massiveness of this plant!  It’s huge!

Image

Image

Not done switching everything over for spring.  More ollas to buy and more plants to plant.  This is a fun time of year, but getting hot fast!  Gotta get movin!

Currently harvesting: cabbage, chard, collards, artichokes, leeks

Linked to the Homestead Barn Hop.


Posted in artichoke, gophers, Jerusalem artichokes, Red Russian Kale, wine bottle ollas | 8 Comments

Redundant Protection for Vacation

I was nervous.  We had a planned trip to California to attend a graduation party for one of my beautiful nieces.  I knew it would be a great time, but… I was a little concerned about the garden.

So I decided the best course of action was redundancy where possible.  I transferred the basil, chamomile, and several of the pepper plants to pots and bigger containers.  Then I transplanted the malibar spinach into the ground and started watering.  I spent a LONG time Saturday morning before we left, watering the raised beds, the main garden, and every pot and container I had.  Lots and lots of water.  Then of course I filled up the real ollas and then brought in the reserves by filling up a bunch of wine bottles and doing my wine bottle olla trick.  I even shoved beer bottles into some of the smaller containers.

Come on, I mean, I was getting a little desperate here!  I gotta save my plants!

I’m happy to say that it worked out well.  Other than one problem that you can see in the last picture.

ImageImageImageImageImage


These are really impressive because you can see that the water has not gone down much.  That means that the WHOLE bed is being well covered by the main ollas.  That’s good news, especially for these little Old Time Tennessee Melon sprouts.Image


And here is the problem.  It’s not what’s here… it’s what’s missing.  There should be two.  I’m thinking my pesky gopher is not gone, he just retreated into the common area behind my house.  GRRRRR!

Image

Posted in Arizona Garden, artichoke, basil, Dripping Springs Ollas, gophers, malabar spinach, Old Time Tennessee Melons, ollas, peppers, square foot gardening, tomatoes, wine bottle ollas | 17 Comments

Sprouts, Flowers, and Fruit

The cucumbers and Old Time Tennessee Melons have sprouted in bed 3.  I’m happy to see that almost all of them are up.  I love good germination rates.  🙂

Okay, here is one of the cucumber sprouts and one of the OTT sprouts, or is it the OTT sprout and the cucumber sprout… amazing how similar certain sprouts look until they get their first real leaves.  Any guesses?

ImageImage


The rest of bed 3 and bed 4 are doing pretty good.  Some of the plants took a little beating with the wind we had the other day, but everybody looks like they’ll make it.  In fact some of the tomatoes are getting some flowers.  As thick as the main vines are… I’m actually going to let these make fruit.  If the plants were smaller I’d probably pull them off, but the plants are looking really good, so… let em grow (ugh… that reminds me of that song… it was stuck in my head for the longest time.  I’ve moved on to, “do you want to build a snowman”… killing me).

ANYWAY…. tomato plants.

Image

And the first tomato of my tomato growing season!

Image

Okay, so it’s got a little ways to go… but it’s looking good!

Posted in Arizona Garden, cucumbers, Old Time Tennessee Melons, tomatoes | 8 Comments