The View

Yes, the blinds can look and feel like bars sometimes but the view of the garden makes me smile. The different greens are captivating: the dark onions, the lighter leafy potatoes, the almost sandy green of the garlic and the bright sunlit grapevines. It reverses the feeling I get when I look at my 401k right now. 😂

I can’t look up too often because it is distracting but an occasional smile is nice.

Posted in Uncategorized | 3 Comments

Sheltering… in my garden

With the whole global pandemic going on, I’ve been working more on maximizing my garden. I’ve still been gardening over the past few years, but haven’t really pushed yield or full usage. Since I am working from home and haven’t had almost two hours of commuting I have been using that time to get out in the early morning sunshine.

We also got a new batch of chickens. This is our third batch and on April 8th they started to produce. I love animals that are productive. 🙂

chickens

Posted in Uncategorized | Leave a comment

Weeding Can be a Blast

Weeding is a necessary part of gardening. Those pesky little menaces can overrun your garden goodies before you even notice. By the time you can’t tell the good leaves from the bad leaves, you’ve lost the war.

So weeding is a discipline in the garden. Regular weeding helps enable a good harvest and makes your garden look more appealing, so you spend more time in it, and you weed more often. Pulling a few little buggers every day is a lot easier than hours crawling around cursing Adam and the Fall, and that snake…

I digress.

Weeding. There are lots of ways to do it.

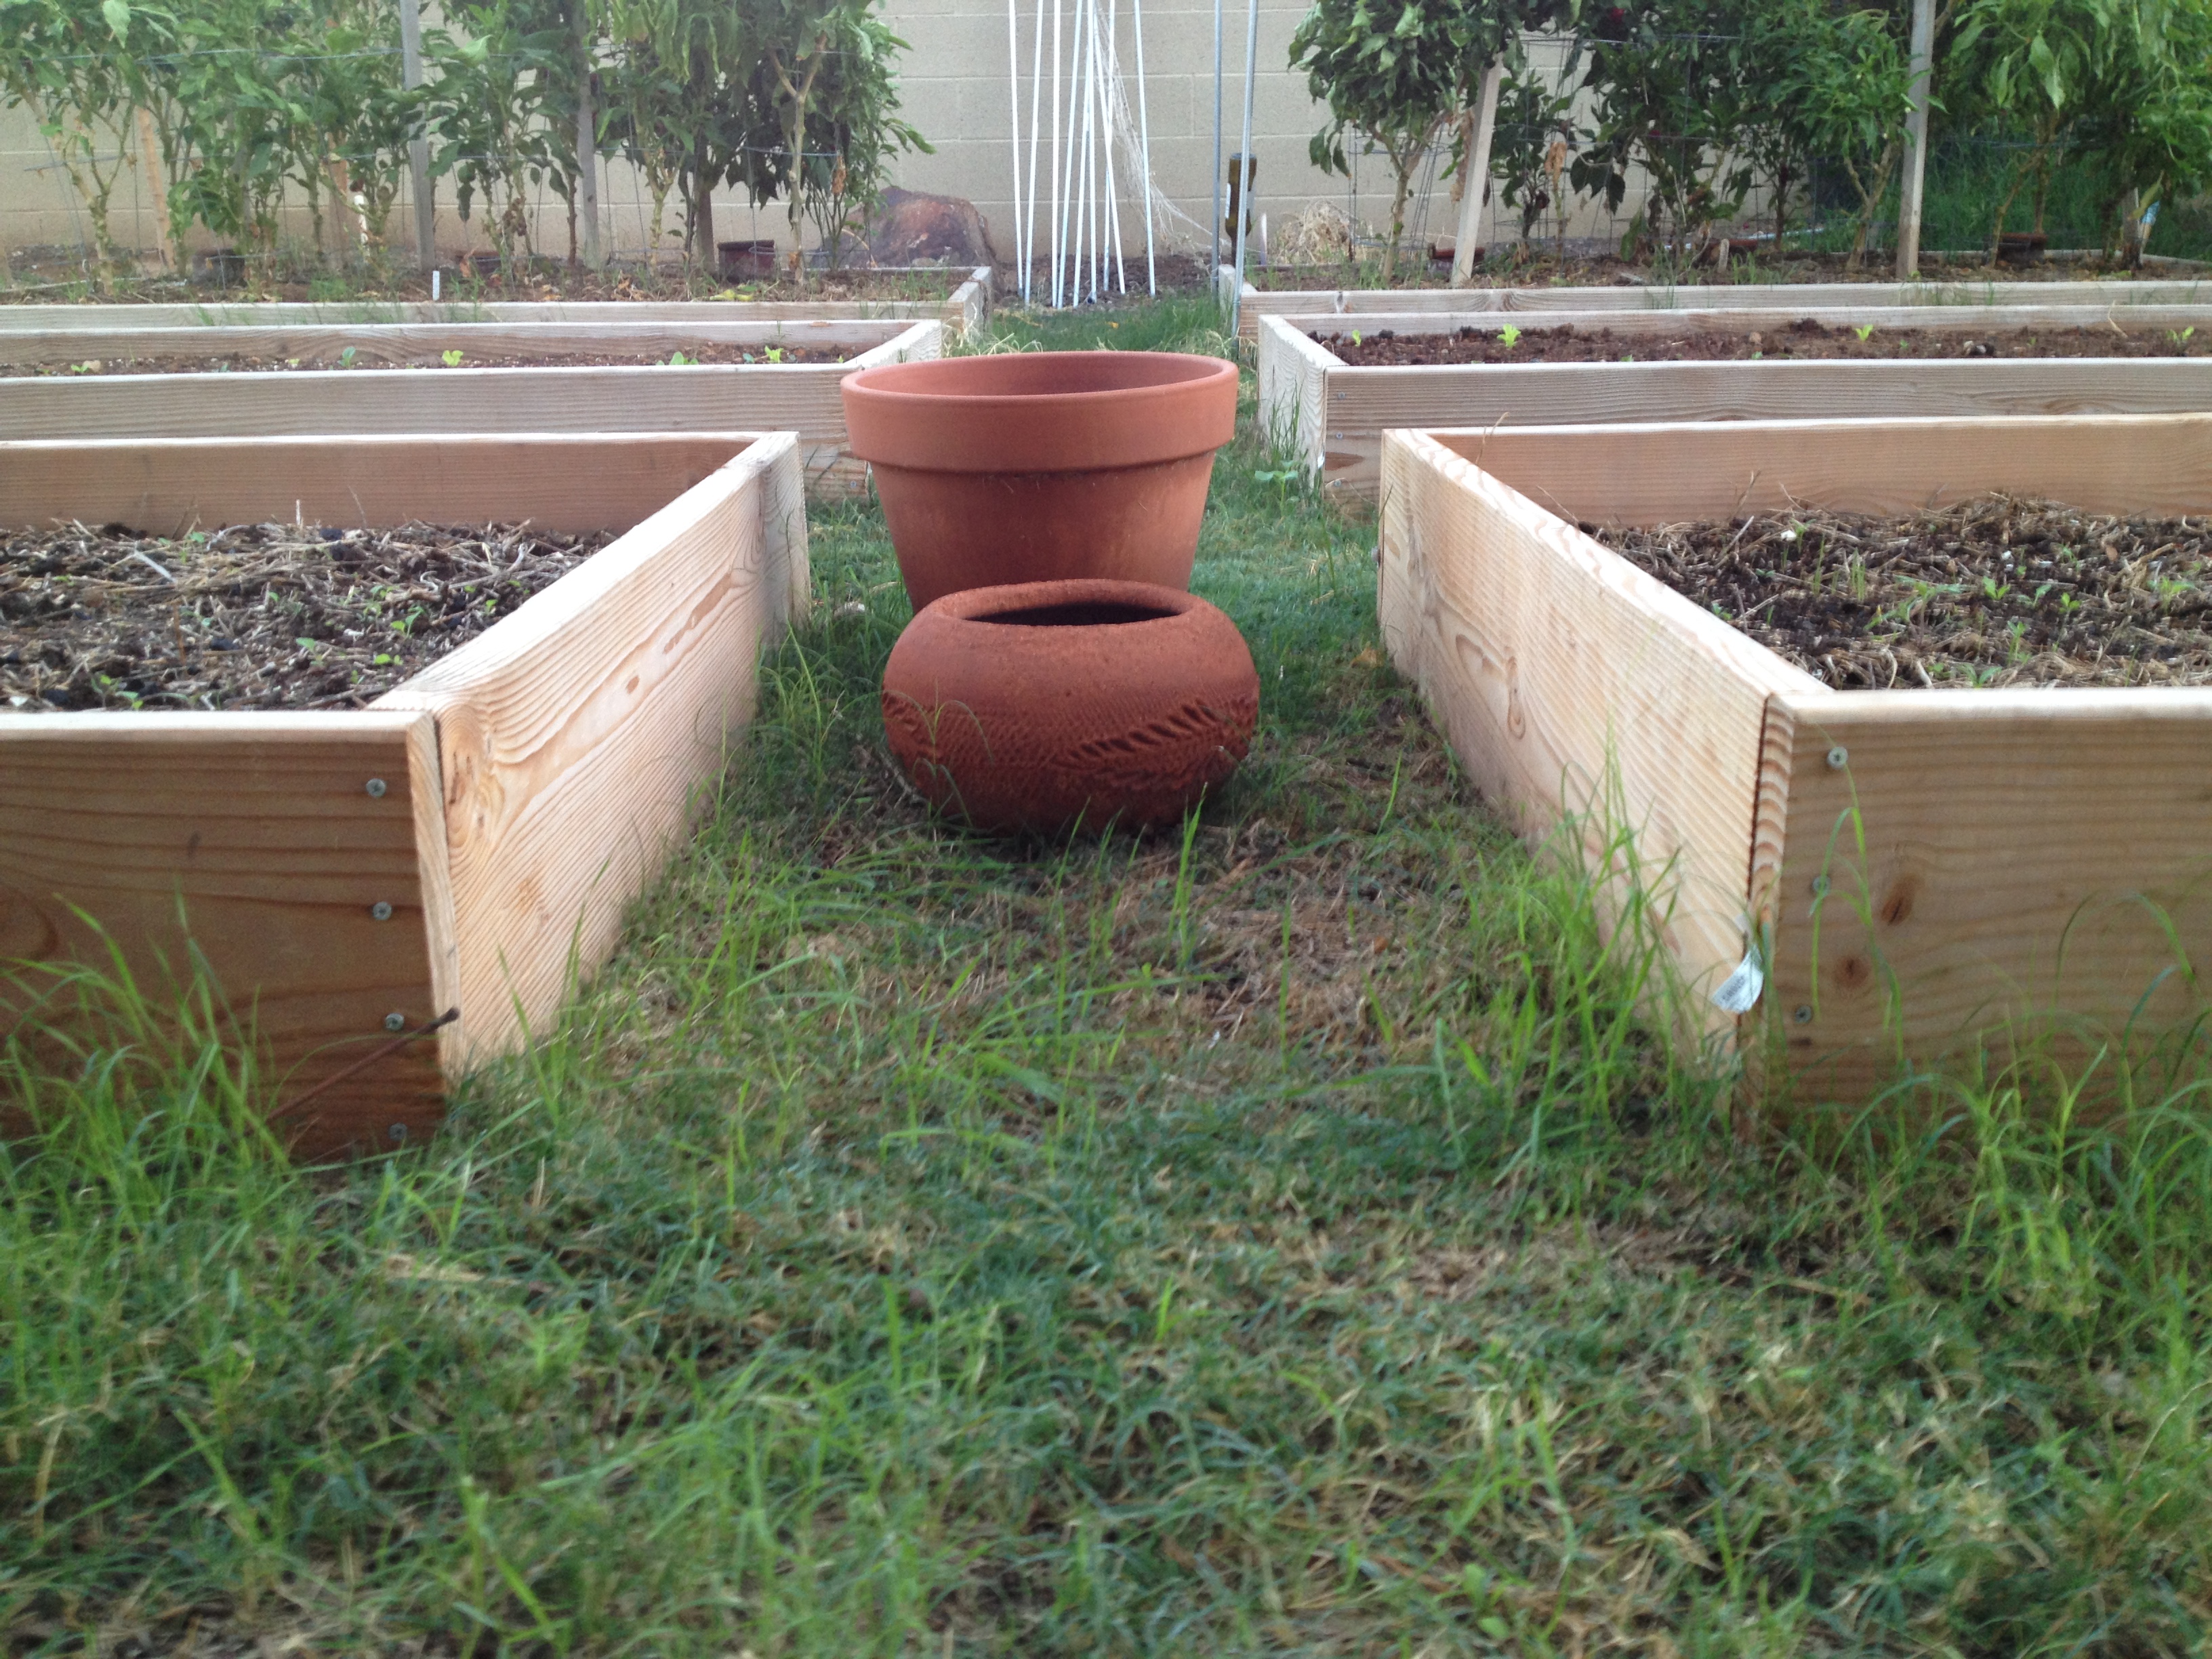
Not doing it is my favorite. 🙂 Burying weeds, or weeding and then burying is my preferred method. Mulch is essential to the garden anyway, throwing an extra pile on the top of some weeds is enough to block out the light and kill them off. This works well on weeds that are short and low to the ground. It is horrible for the mother of all weeds… bermuda.

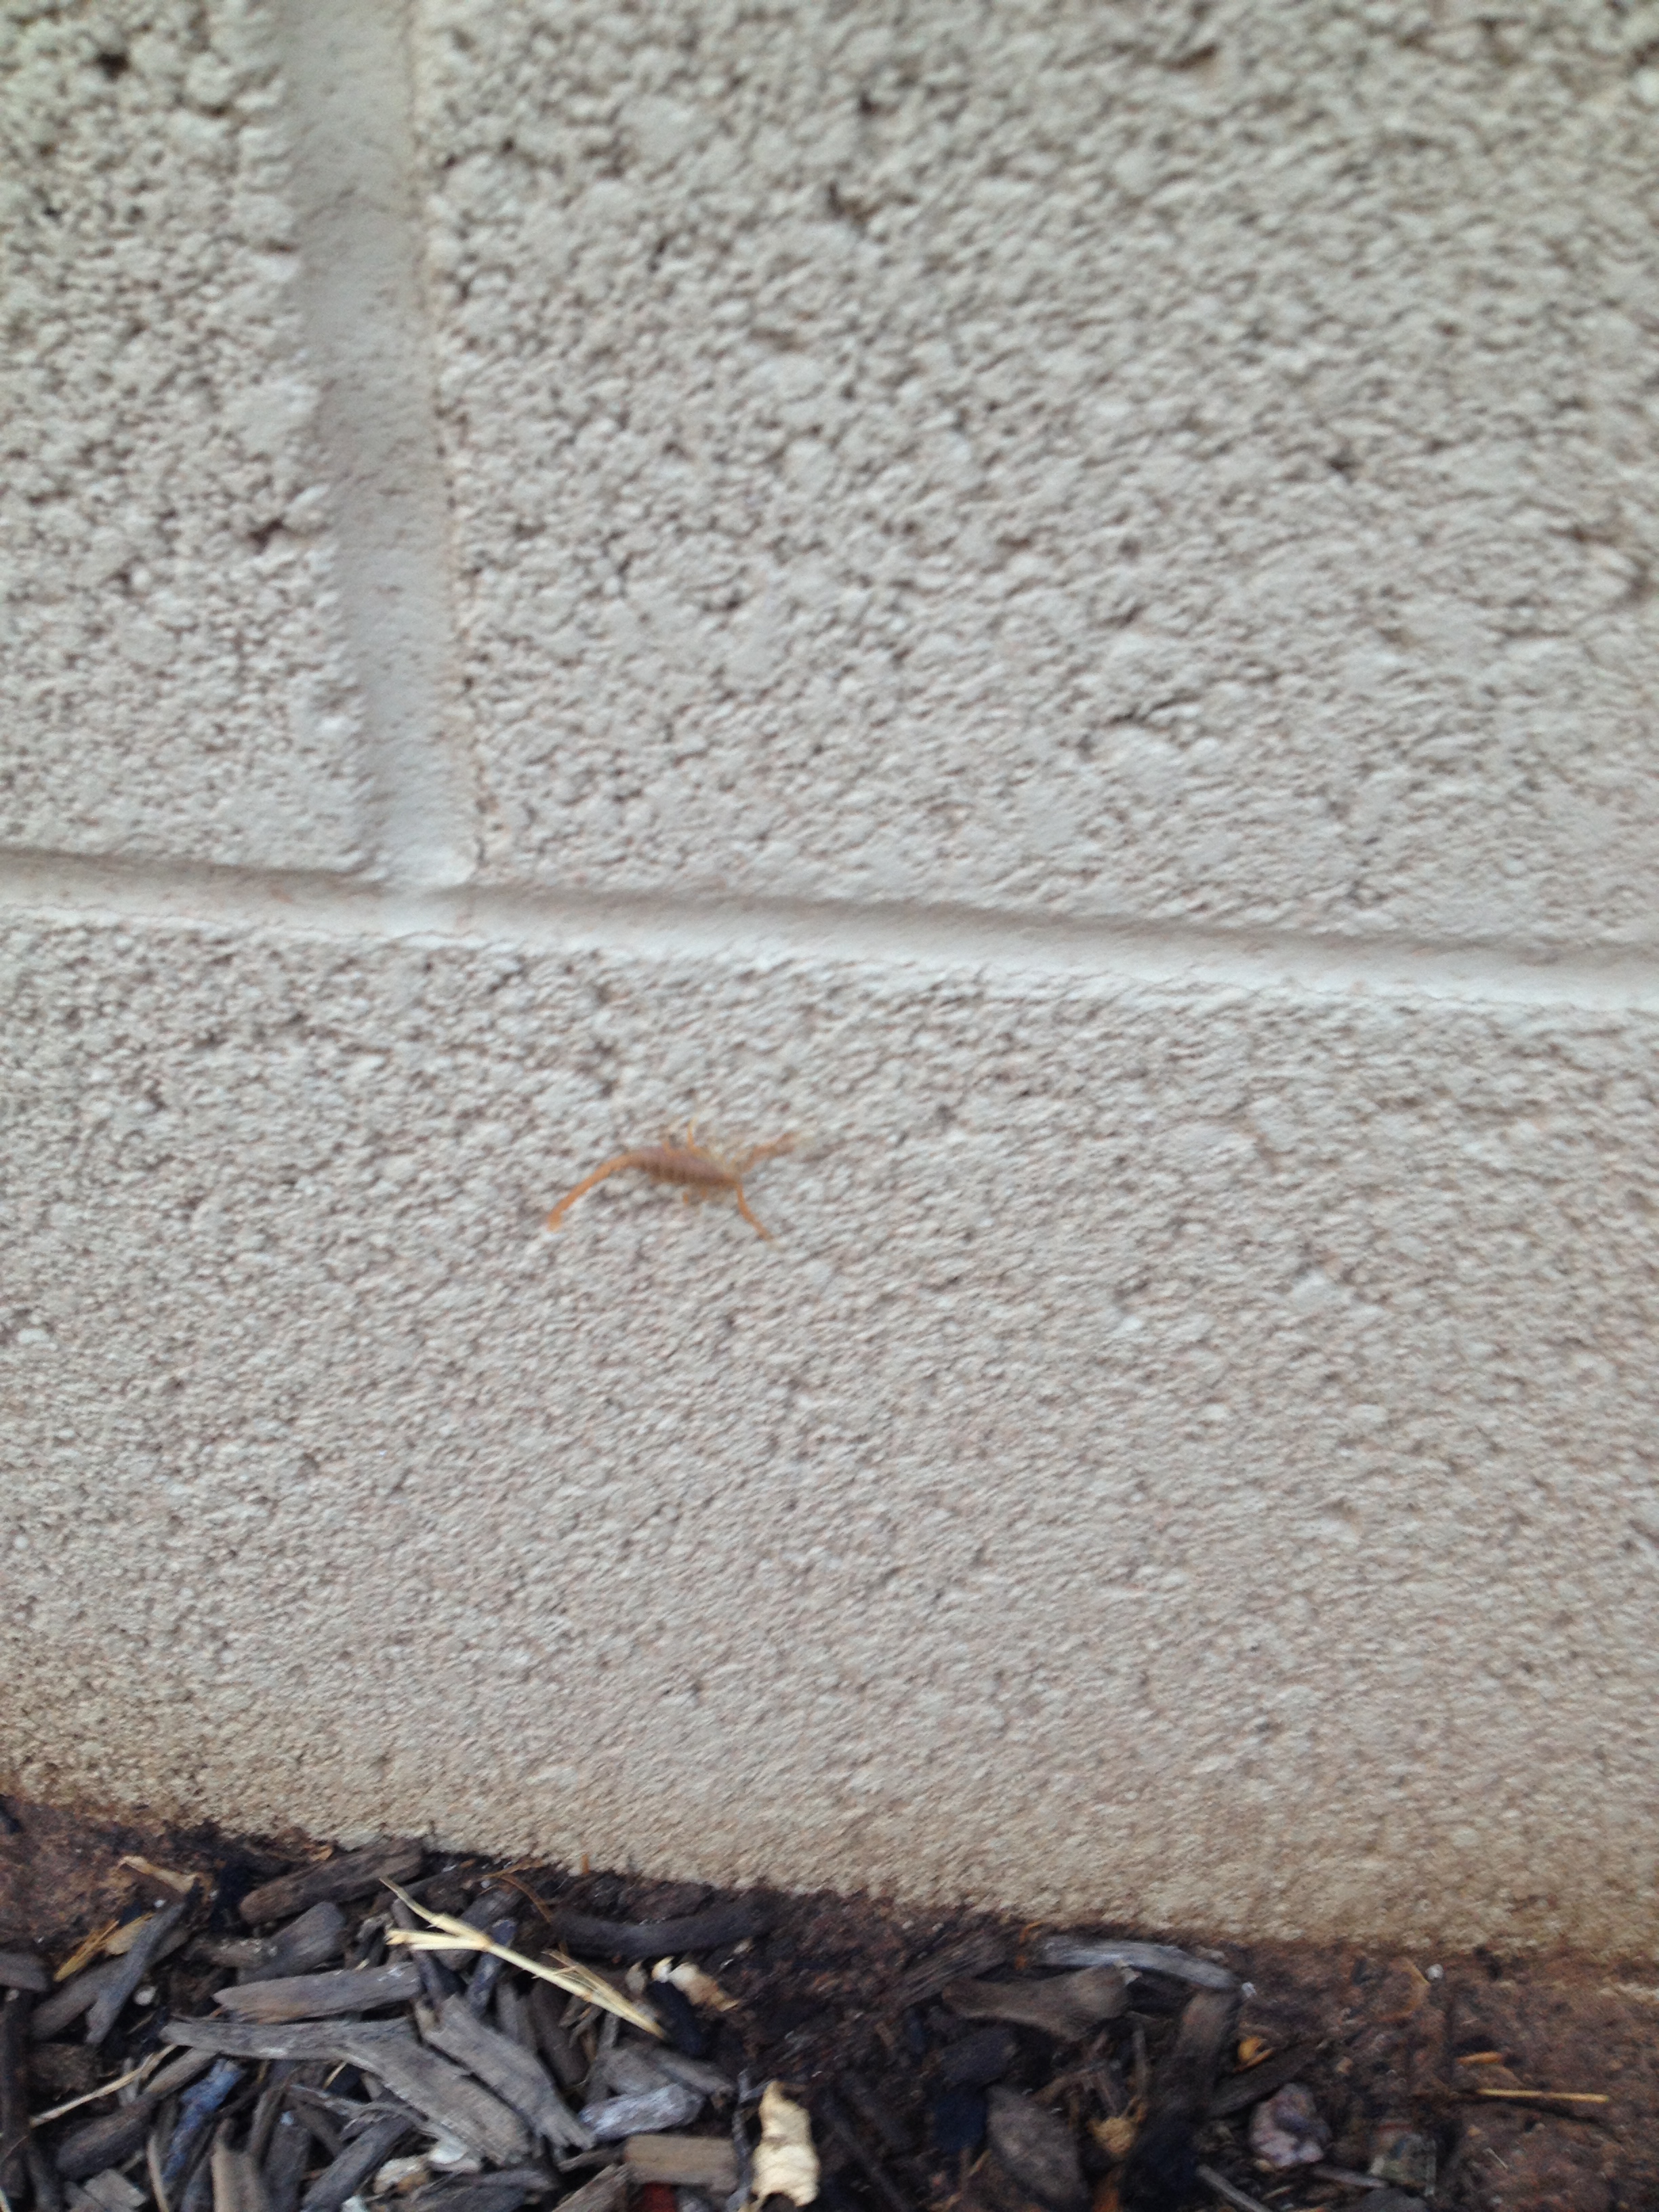
Bermuda will crawl its way up through the mulch and continue it’s plague. I hate the stuff.

So you can dig, and pull. This is the most basic weeding method, and at some point you have to do it. Bite the bullet and rip those pesky roots out of the ground. Hoes, hula hoes, shovels, flat head screwdrivers, and all kinds of hand tools can be useful when it comes to the dig and pull method. It is gratifying when you see one of those big, long roots come out of soil in one solid piece. You just have to be sure you don’t damage the good stuff while you’re pulling up the bad.

You could spray.

I don’t spray. Spraying is bad. Don’t spray. You can’t spray. No spraying. I think you know how I feel about the spraying.

But there is one method that’s a little different, but is probably the most gratifying of all weeding methods.

Burning. 🙂

And all of the men said, “YES!” After all, there is a little pyromania in all of us, probably more in us men. There is just something about watching a weed wilt, die, and turn to a charred little skeleton right before your eyes. (insert maniacal laughter here).

Now there are different instruments for this. For precision, in tight places, when your lettuces and broccoli are right next door to the offender you can use a small hand held welding torch. This is a basic that most people have laying around in their garage somewhere. A little Bernzomatic mapp torch works wonders. They have some with the trigger ignition, but from my experience this eventually stop working. I use a flint sparker. They fit in your back pocket and are just handy to have anyway. Especially for the bigger torches…

Like a yard torch! These are great because they have a little wider diameter, still use the small gas bottles, but last for a good length of time. They are just the right height and you don’t have to bend over like the little torches. Now… a yard torch will take out all of the plants AROUND the weeds, so these are more suited toward general areas that you are trying to clean up.

Of course if you have a BIG area, then a bad boy like THIS ONE can save you a lot of time… and burn through a lot of propane, but hey, it’s the fun… I mean, the removal of weeds that is really important.

You do want to use caution when weeding with fire MWAHAHA… sorry. Caution, yes, caution. It’s good to put a good sprayer on your garden hose and turn the hose on high and keep it handy… just in case something catches fire a little easier than you expected it to.

Wear boots or some other very formidable shoe that can easily stomp out a small flame. Flip flops are not your friends here.

Keep children and pets away. Fido can do some really nasty damage to the new poodle doo of his if he gets too close to the flames. Likewise make sure your kids understand that this is NOT something that they are allowed to touch or even be around while it is taking place.

And finally, and probably most important… this is FIRE. Make sure that you are only burning things that should be burnt. Probably not the best one to use while weeding next to a house, wooden fence, or next to the dried up corn stalks. PAY ATTENTION to what you are burning. Don’t bend down to move something and end up putting the flame on your prized pea plants, they’ll be TOAST.

So weeding is necessary, but that doesn’t mean that it can’t be entertaining. Just use caution and common sense.

What are your favorite ways to weed?

Just in case you are wondering, NO, I am not getting paid by any of the links in this post. I put them in just for a quick visual of what I am talking about. That is a thought though… maybe I could get them to pay me in propane! 🙂

Linked on the Homestead Barn Hop

Posted in Uncategorized | 8 Comments

There is No Peace and Harmony with Scorpions

I failed.

We quit getting our house sprayed over a year ago, it might even be two.  It’s been long enough that I honestly don’t remember when the last time was that we had “the bug guy” come out. I really wanted to avoid it because I hate the idea of poison around the house. Plus they usually want to spray in your house and pretty much hose down your yard until you are swimming in whatever toxic substance they deluged your property with.

The chickens were our primary defense for a while. When they were free ranging they ate some bugs, but mainly they pooped on the porch… a lot.

We also tried diatomaceous earth around the perimeter of the house.

I looked into several natural bug sprays but did not prioritize it.

I got busy.

We got bugs. Lots of ’em.

My wife was really good about crickets and even the occasional roach, but quite frankly there is no harmony with scorpions. They are nasty creatures. Even one or two probably wouldn’t have been a big deal, but we saw… dozens this summer. Not like A dozen, but… many dozens.

scorpion on the block

I saw them everywhere in the yard this summer. In the sprinkler box, on the underside of the olla lids, all over the block walls. I killed a ton of them. No mercy for scorpions.

Unfortunately they took the fight inside. It’s not very relaxing to check your bed for scorpions every night. We found them on the walls, in the closet, in the shower (they like water sources), and pretty much everywhere else where you don’t want to see a scorpion. The kids got really good at spotting them, which is an accomplishment considering they blend in with tan and brown colors really well, perfectly matching our tile and carpet.

scorpion on the wall

In the end I decided to do something. The “bug guy” wanted to spray the outside of the walls and the ground around the house up to six feet from the wall. Too much. Of course even if I talked with the first one and got him ‘trained’ on the areas I was willing to allow spraying, the next month it would probably be somebody different and they would end up hosing the place down from top to bottom.

I ended up picking up some poison and doing it myself. Sigh…

It’s a failure, but one that needed to happen. I was able to control the areas that were sprayed, when they were sprayed, and how much they were sprayed. It seemed like the best case scenario. I’m sure at some point in the future I’ll put more effort in and do some testing with the natural sprays, but for now… this is the solution.

We still have bugs in the garden. I still see a few roaches when I water he trees. Spiders are still trying to take over the compost bins, but the house is fairly secure, and for now that’s how it needs to be.

Posted in bugs, scorpions | 5 Comments

Why I Start with Raised Beds

How do I start a garden?

That’s what I asked myself several years ago when I started with a blank slate of a back yard.  I really had no idea what I was doing and I was starting with some of the worst possible conditions I could imagine.  Some places have hard soil.  We have caliche.

The clay in the soil gets wet, then bakes in the hot AZ son.  Wet, bake, wet, bake… and the result is equivalent to concrete.

When I was building my first raised beds I was told by someone that I needed to dig through this soil to get drainage for my garden.  So I dug… two feet down… through caliche… with a railroad pick.  It took FOREVER.  The first time I tried to break through the soil I took my railroad pick and started swinging.  I’m not a lightweight, but that 12 pound railroad pick bounced… and sparked… on the concrete that was my backyard.  I wet it down and left it.  It never soaked in more than a quarter inch.  It evaporated.  It was terrible.

Beds in a row

I’ve learned at least a little over the years, so if I was starting again I would do it a little bit different.

Raised beds have certain advantages over a traditional garden.

– They are higher up and so are a little easier to get into.

– The area is well defined which gives you a better chance of keeping your kids and your pets out of it.

– It allows you to concentrate your soil resources into one confined area that can be densely planted.

– It will warm up faster in the spring (if that is a concern for you).

– If you are using ollas, you can actually put the olla in place as you fill the bed, making the initial placement easier.

Lots of sprouts in a raised bed

Of course, raised beds don’t last and eventually the wood will rot.  That’s true, although from my experience it takes longer than you think.  But even so, it’s not necessarily a bad thing.

As you water your raised bed you are providing a nutrient dense compost tea to the area underneath and around the bed.  Over a few years even hard caliche will soften and improve.  By the time the wood has rotted and needs to be removed your garden soil has gone from bad to better.  The ground has gone from unmanageable, to easily workable.  Instead of a railroad pick you can easily use a shovel.

If I was starting from scratch, I would consider the following things.

– Think long term.  What do you want your garden to eventually look like.  Five, even ten years down the road, how big do you want your garden to be?  Figure out what the final perimeter area of your garden will be.

– Put several raised beds in that area but start small.  Add a couple more next season or next year.  Organize the first ones though in a way that makes sense as you add them.

– Put those beds right on top of the soil, no need to dig down.  You may get some muddy spots around your bed.  If this is a problem throw down some mulch around your beds.  A good, mostly composted wood mulch will absorb a lot of water and continue to improve the soil.

If you like the raised beds you can remove the soil, rebuild the box, and put everything back together.  If you decide to turn the whole area into a traditional garden, then your soil will be ready to go!

What do you think, fellow gardeners?  If you had to start from scratch how would you do it?

This post is linked on the Homestead Barn Hop at The Prairie Homestead.

Posted in Arizona Garden, Dripping Springs Ollas, ollas, raised beds, square foot gardening | 3 Comments